How to change default WooCommerce thumbnail image
You probably noticed that if product in WooCommerce online store has no image, WooCommerce adds a default image by itself. But how do you change that thumbnail image?
WooCommerce lets you change thumbnail image by yourself, but it’s not as straightforward as it could be. Especially if you’re new to WordPress and WooCommerce. But you don’t need to code, and you don’t need any additional plugins for that. So lets change the default WooCommerce thumbnail image together.
How to change default WooCommerce product image
Before changing WooCommerce product thumbnail we should upload a replacement image to WordPress.
The image should be as lightweight as possible. Under 40 kilobytes would be a good side (jpg or webp format would be best). It’s resolution should be 1200 x 1200 pixels or slightly more, just to make sure that it looks crisp and large enough to be captured by social networks when you share a link.
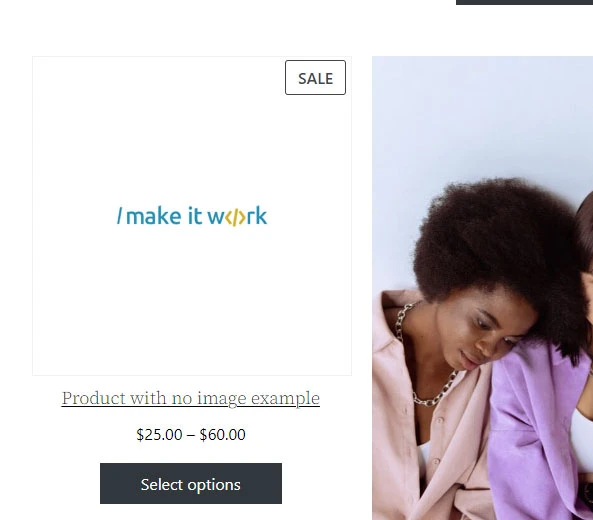
Here you can see how default WooCommerce thumbnail image looks like:
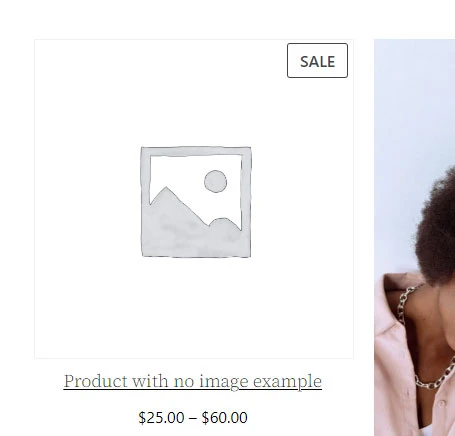
In order to change it you need to upload your new default image to WordPress. Go to Media in WordPress admin panel, and upload the new default thumbnail image. Just click Add New, and select the new image.

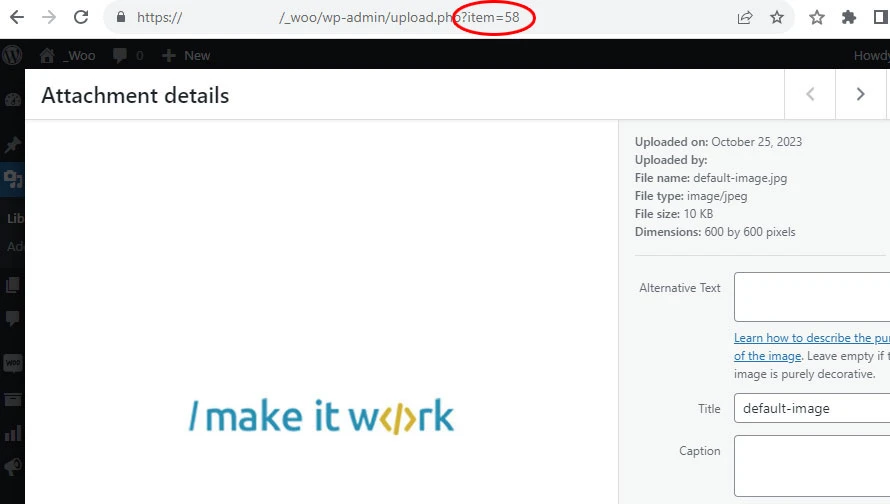
Once new image is uploaded to WordPress, click on it to see the details.
Take a good look at it’s URL – it has a parameter item=[some number]. Write down or just remember this number – you’ll need it in a minute.
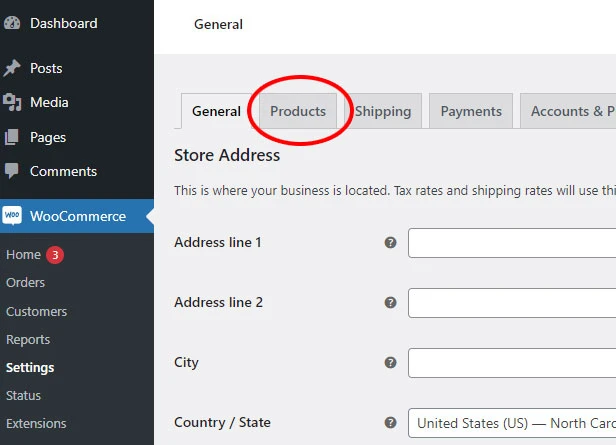
Now to go WooCommerce >> Settings in WordPress admin menu, and click Products tab.
Once you’re there look for Placeholder image setting. There you need to add a new default WooCommerce thumbnail image ID you just wrote down.
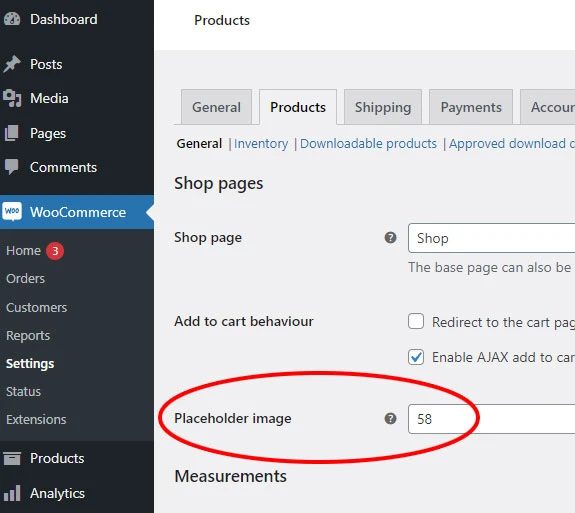
Once you save changes you’ll have a new default product image in your WooCommerce store.
Looking for more WooCommerce tutorials?
Click here to learn more about WooCommerce!
Need quick WordPress help?
Get your website fixed, optimized, or migrated — fast, secure, and handled personally by a developer with 15+ years of experience.